Believe it or not, you don’t actually need to be a mechanic to know how to change a clutch. Changing your clutch is quite easy as long as you don’t mind getting your hands dirty. If your clutch needs changing, here’s what you need to do.
First things first, it is a good idea to use a mask before you attempt to remove your clutch as your clutch is constructed by using asbestos. By making sure that you’re protected with gloves and eyewear, you’ll be able to remove your clutch safely.
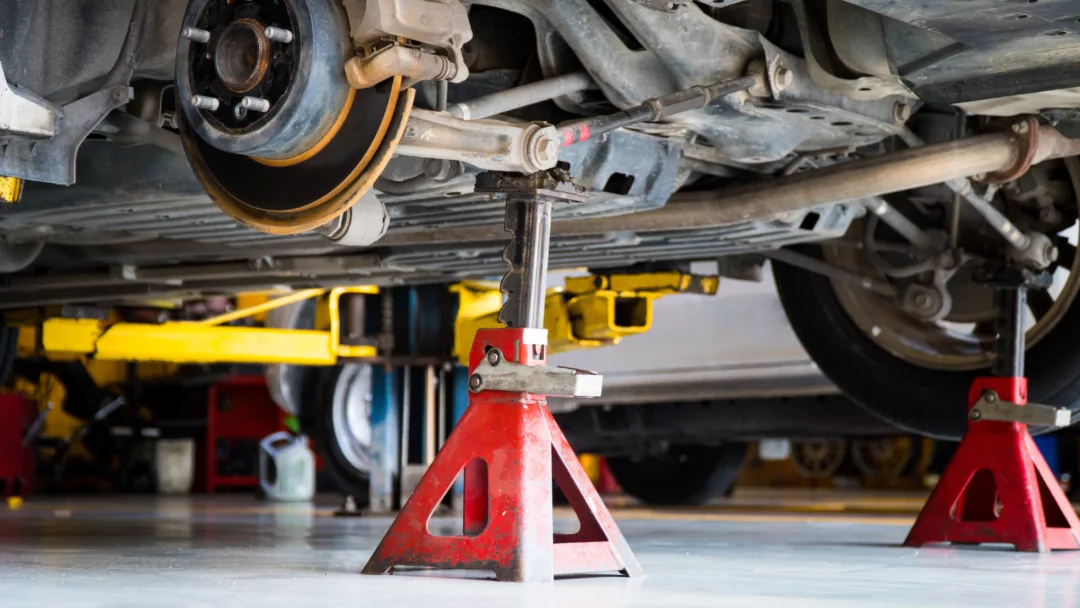
Step 1: Get your vehicle in a secure position
Before you can go ahead and even think about removing your clutch, you’ll want to get your vehicle into a safe position so that you can use your jack to raise up the front end. You might want to think about using a jack stand too as this can be really helpful in supporting your vehicle safely.
Step 2: It’s time to remove the transaxle
So that you can get to the car clutch, you’ll need to remove the transaxle. To make it easier for you, you can remove the transaxle by unhooking your clutch cable and the positive battery one too,
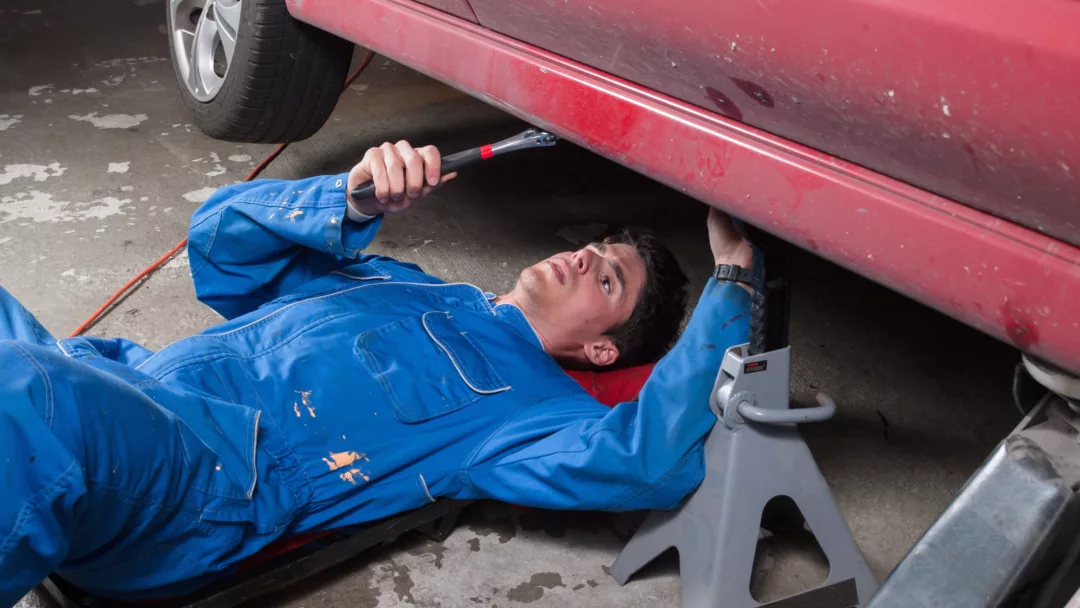
Step 3: Release the engine mount
Once you’ve done the above, it’s time to remove the bolts that are holding the engine mount in place. To do this you’ll have to undo at least one engine mount to get the transaxle out and after undoing one, you’ll be able to simply separate the transaxle. It’s as easy as that. If you remove the bolts from around the flywheel, then just push the transaxle away from the engine.
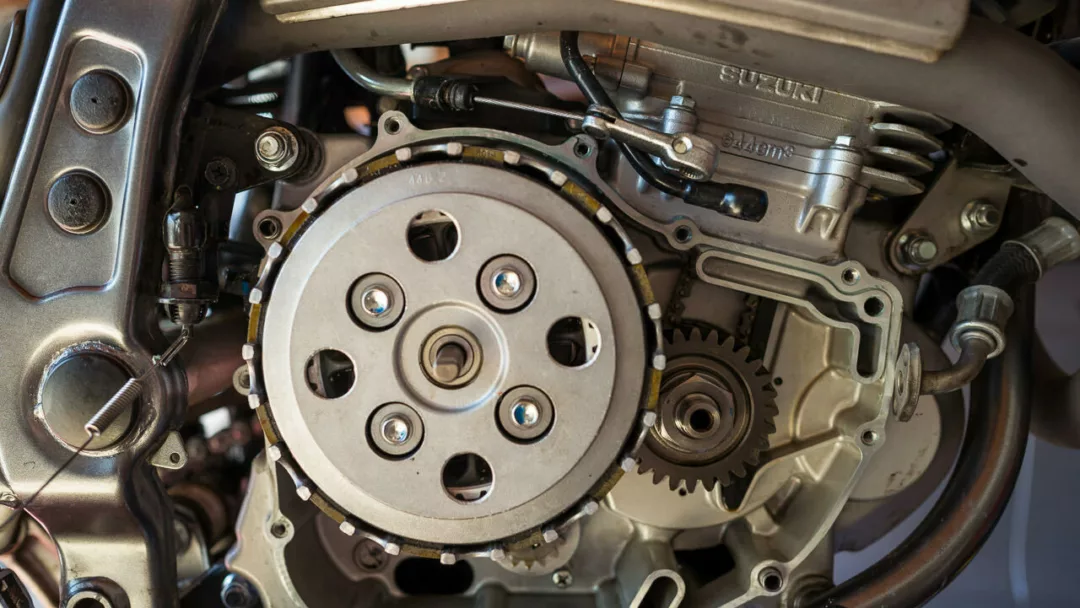
Step 4: Remove the clutch
It’s now time to remove your clutch pressure plate. Once this has been removed, you’ll be able to inspect the flywheel for any signs of wear and tear and if damaged, just replace it with a new one.
You’ll find that when you’re undoing the bolts of the pressure plate, that the flywheel will more than likely want to move. All you’ll need to do is break the bolts loose and apply some force inwards or outwards from the flywheel.
Whatever you do, just don’t try and remove all of the bolts at once, otherwise, the pressure plate will trap the clutch disc. If this happens, you could do yourself some serious damage. Just as your doing the last bolt, it’s a good idea to have an extra hand to control the pressure plate and disc as the pressure plate will start to move away from the flywheel. You might find that supporting the disc with your finger is a good trick for holding the disc onto the pressure plate.
Now you’ve removed all the bolts, you’ll be to see whether the pressure plate is still being held onto the flywheel with the alignment dowels. If it is, then all you need to do is gently work the plate from the flywheel using a screwdriver until it’s free.
Step 5: Inspect the clutch wear and flywheel
Your clutch disc is part of the wear-down on your car. It has a brake pad material on either side, which is held on by rivets. When this wears down, it allows the rivets to touch the flywheel or pressure plate, causing your clutch to slip.
When looking at the flywheel, you’re looking for extreme heat checks, cracks, and any hot spots. If you do spot any, it’s a sign that your clutch has been slipping for a while and will mean you’re probably going to have to replace your flywheel. It’s worth noting that if you skip this step when you install your new clutch, the likelihood is that it will cause a racket.
Step 6: Replace your clutch
Are you ready to install your new clutch disc? To do this, just slide the new one in place and position the clutch alignment tool. When you’re ready, bolt on the pressure plate, making sure that you tighten each one a quarter turn at a time, until it’s tight, but lose enough so that the pressure plate can move around.
Step 7: Reinstall the transaxle
Once you’ve installed your new clutch disc, it’s time to replace the transaxle. To replace your transaxle you just need to align it with the clutch disc splined hole. Slowly and steadily move the transaxle forward until the input shaft moves its way into the clutch disc’s splined hole.
Step 8: Release the jack and test the clutch
After making sure that the bolts are secure and all in place, you’ll be able to remove the jack because it’s time to go and test your new clutch!
In general, once you’ve changed your car’s clutch this should last you a good while, hopefully somewhere between 30 and 100,000 miles. Of course, we can’t guarantee this as it does depend on many different factors. For example, the loads being carried, the age of the car and the area that the car is driven, and many more.
All in all, if you’re worried that your clutch might need changing, you can just take it to a mechanic for a once over. It might be a little pricey, but a working clutch is better than a non-working clutch that could potentially result in engine failure.