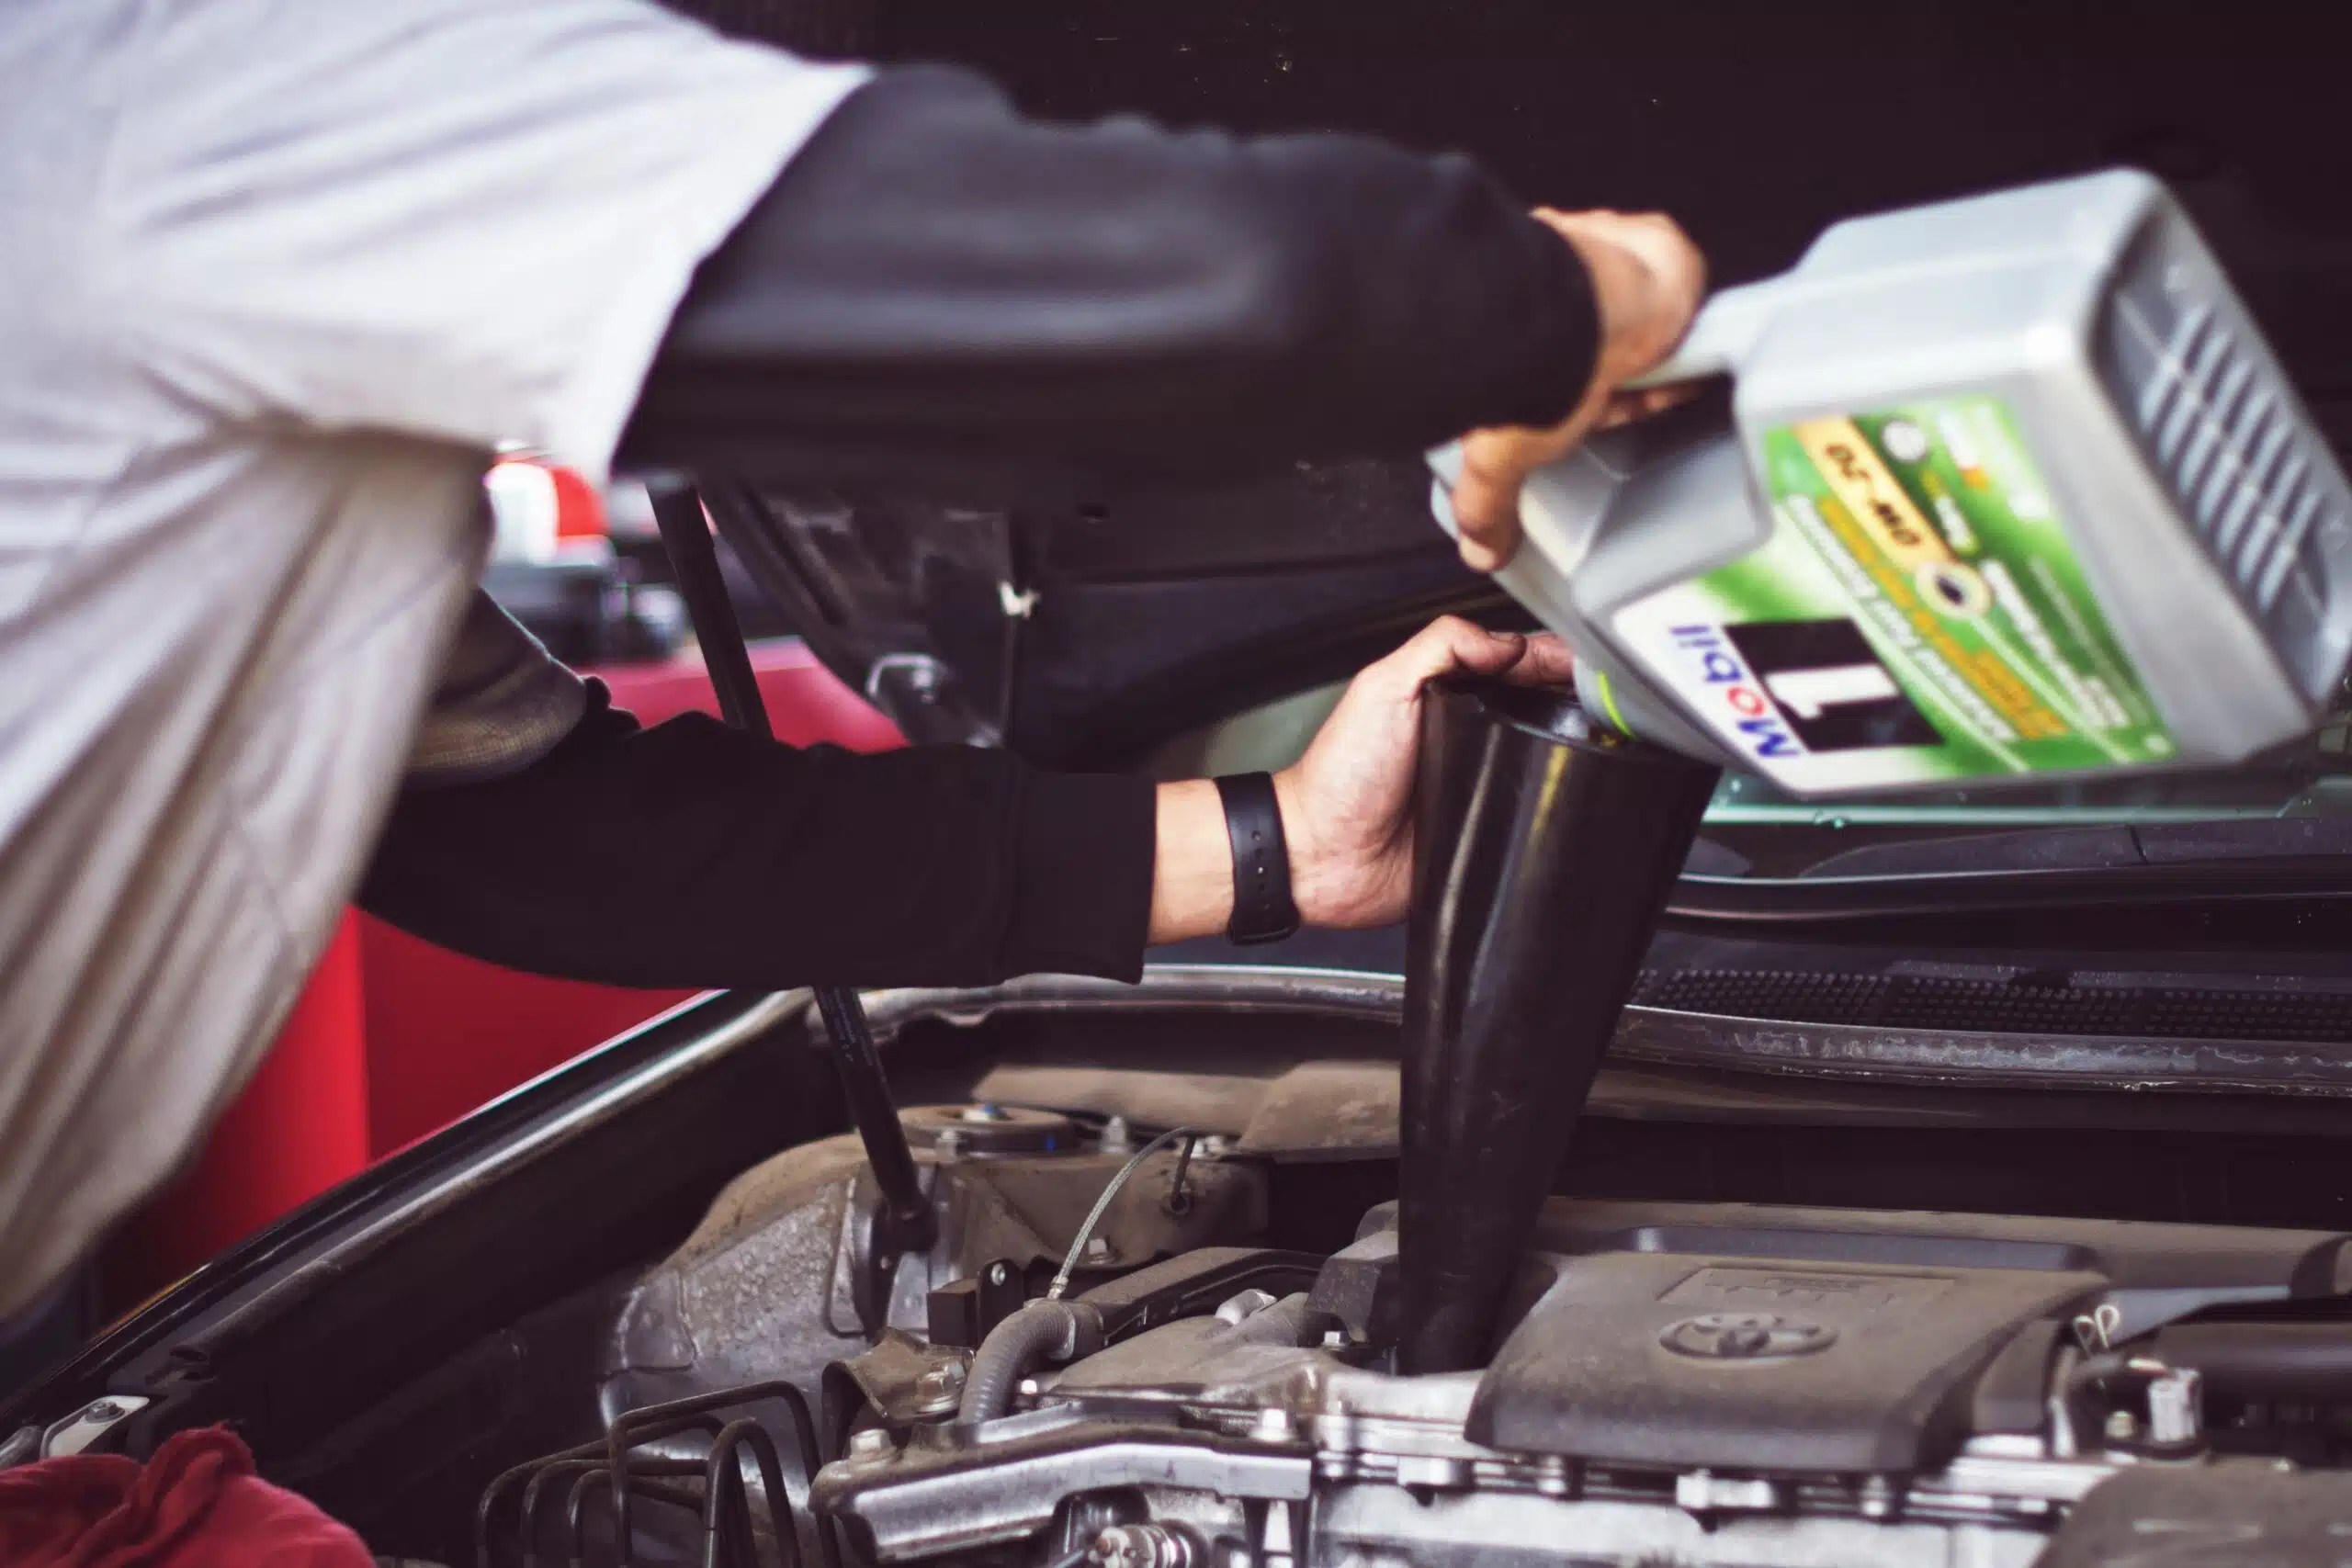
Do you have a car that you use on a regular basis? If so, then you’re probably already familiar that to keep it in top condition, you need to perform the right maintenance. One piece of equipment that you might come across to help you do this is an OBD2 scanner.
What is an OBD2 scanner?
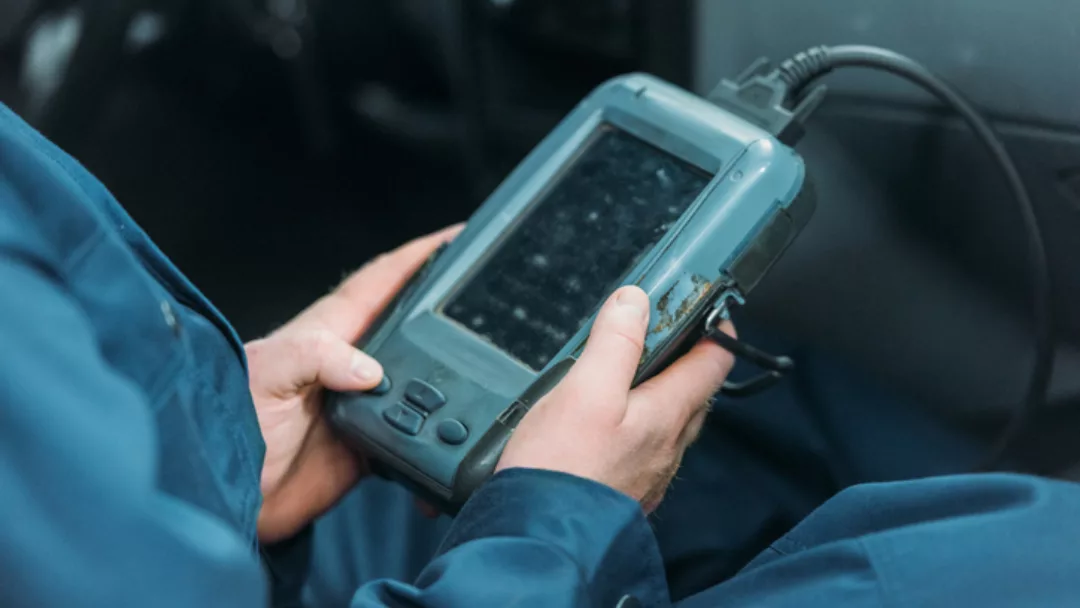
An OBD2 code reader scanner is a specially designed plug that you can use on your car. It’s essentially a plug-in function computer interface that gives you the chance to monitor the standardized emissions, as well as other crucial systems on your vehicle.
You can use the OBD2 scanner to complete basic do-it-yourself repairs. You can detect problems with your car thanks to this amazing piece of technology. It’s pretty simple to use too and quite convenient. Simply pop it under the bonnet and off you go. It could even help to prevent you from getting stranded on a busy motorway.
Types of OBD2 scanners
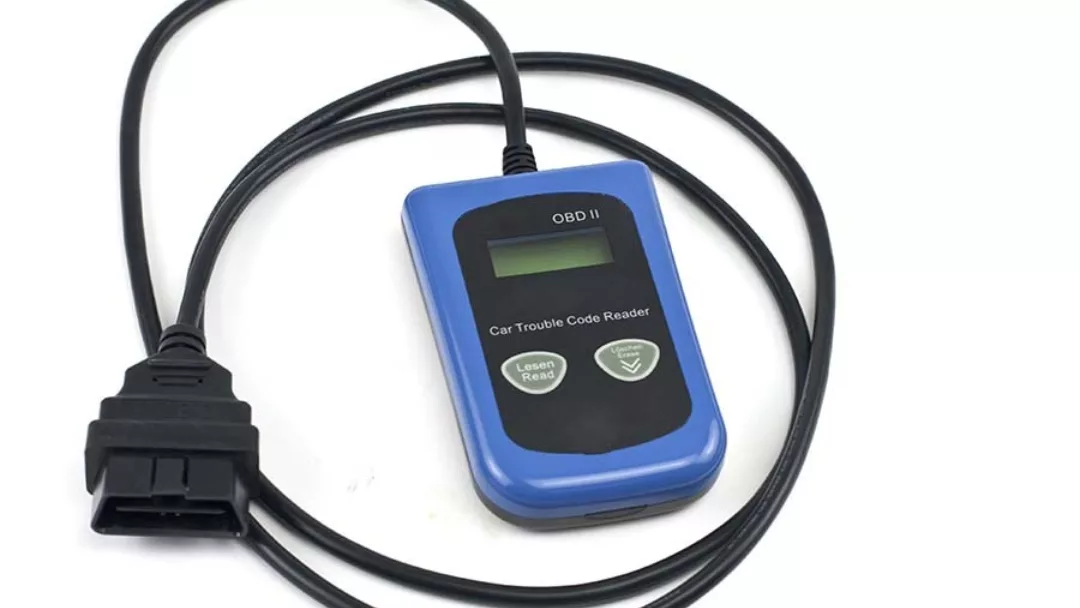
Code readers: these days modern cars have a system already in place that can help to diagnose errors with your car’s engine. The OBD2 code reader can perform checks and help you to fix any car problems you might have. Generally, the cost of this type of scanner is normally what it would cost you in having a professional mechanic look at your car so in the long run, you could be saving a fortune as you can use this scanner multiple times.
Scan tools: if you buy a code reader, then you will only be able to read and clear codes. This tool is far more advanced than that. You can view live data too. This means you’ll be able to get a better idea of what’s going on with your car. It monitors your engine condition and is probably the reason why it’s a bit more expensive. It can be worth investing in though if you want to find out in plain English what’s up with your car.
How to use an OBD2 scanner
If you want to use an OBD2 scanner, then it’s a good idea to become familiar with a device like this first so you can get the maximum use out of it. There are various different readers on the market and all of them offer specific consoles according to their type. Usually, the basic rule of thumb is that all of these code readers are more or less similar to each other.
These are the different steps involved when it comes to using an OBD2 reader:
Connect your scanner to your car
First things first, you need to find the diagnostic link connector. If you’re not too sure what this is, it’s a 16-pin connector, which is usually found under the dashboard, below your wheel. If you turn your ignition on and wait for the scanner to establish a connection. While this is happening you will probably see messages like “searching for protocol” appear on the screen.
Input your car’s information on the scanner
After booting up your scanner you just need to select “codes” or “trouble” codes on the menu. The information you see will depend on your scanner and your car. More often than not, once you’ve got the scanner turned on, it will show you the problem with your car. However, there are some scanners that aren’t as friendly as this and provide alpha-numeric codes. If yours does this, it means you’ll probably have to look up the meaning of the code in the directory.
It’s also worth mentioning too that there are code scanners that come with their own software, which can be downloaded. This allows for you to get a more detailed picture of your car’s problems, should it have any.
Sieve through to read find out about the code
Once your scanner has provided your code, the next thing to do would be to duplicate the code type on a sheet of paper. Some devices actually come with a USB port, so you can connect it to your computer. Then you just need to find the trouble code in your manual. You can often find generic codes in the annex or you can search online.
Transform your car’s system
Last but not least, after you’ve done the above steps, you’ll be ready to disconnect the scanner’s cord to the socket and turn off the device.
You can do well with having an OBD2 scanner on board. The information you can get from a device like this is pretty incredible. You will find that it can help you to detect small problems and possibly prevent them from transforming into bigger ones.
How does the scanner diagnose your car?
Now, this is a great question. The scanner can actually gather lots of information about your car, like bits about its fuel consumption, emission control systems, and even road speed too.
The way it works in diagnosing your car is by reading the onboard diagnostics of your car. This is like an onboard computer in your car that can help to monitor car issues such as safety features, like airbags and seatbelts.
If the scanner does present you with a check engine light notification, you should always treat this as urgent. If you happen to be on the road, it’s always best to find a safe place to park and have the car towed.
How to erase the codes after a check
Once you’ve checked your car with the scanner, let’s say for example that it reads an error code, all that’s left to do now is to clear the code. You can normally clear the code without any issues.
If you have got a check engine light, this usually doesn’t go away immediately, but you can reset it and erase the code on your scanner. You can do this by following the instructions on the main menu, it’s that simple.