Did you know that you should flush and replace the brake fluid in your car every two years? Crazy, isn’t it? Brake fluid is one of those things that can easily slip our minds. By the end of this guide, you’ll be changing your brake fluid if you’re not already and you’ll know exactly when it needs doing.
What is brake fluid?
The fluid of all fluids for your vehicle. Your brake fluid is a special liquid that produces the power that moves the various bits and pieces of your vehicle’s brake system. You can imagine the ridiculously high temperatures that this fluid is working at and the amount of pressure it’s under to make sure your brakes are doing the job they are designed for.
How does it work?
When you break it down, your brake fluid works in quite a simple way:
- You press your brake pedal, which presses down on a piston inside your brakes
- This causes pressures to build up and your brake fluid comes into play
- Your brake fluid will create pressure, sending a message to your brake rotors, which causes them to push down on the brake pads
- This will apply pressure to the inner rims of your wheels and your vehicle will then slow down and eventually it will come to a stop.
If you’re buying brake fluid, there are so many different ones on the market, and finding the right one for you depends on our vehicle and the system that it’s running on. For example, do you have anti-lock brakes? This brake fluid will be different from a non-ABS one, so it’s worth checking.
How to change your brake fluid
Follow this step-by-step guide and you’ll have your brake fluid changed in no time
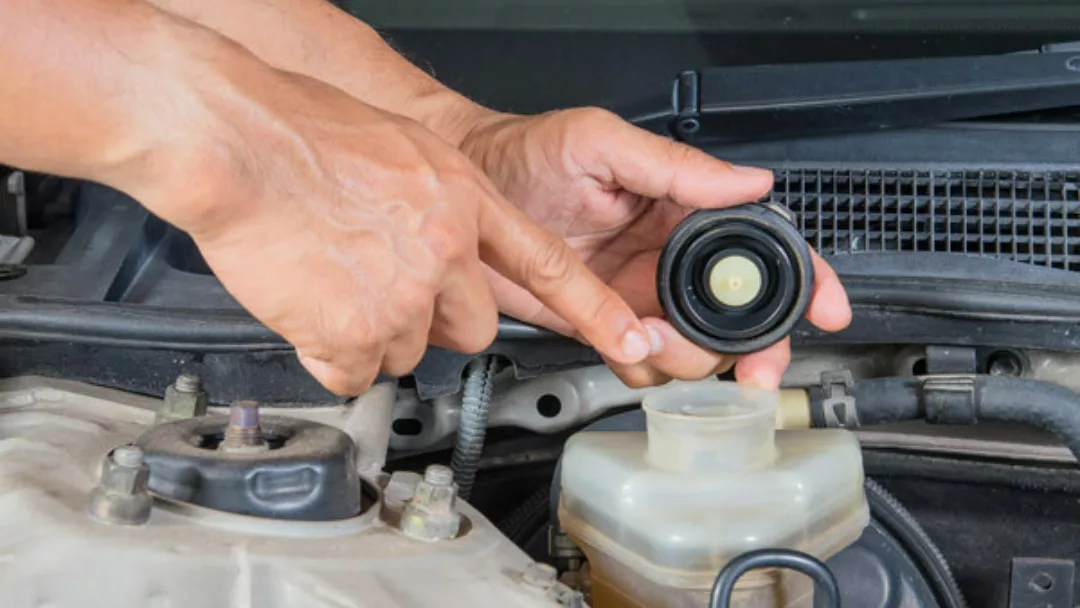
- First things first, it’s out with the old and in with the new. It’s time to remove the old, dirty fluid from the master cylinder reservoir. Simply pop the cap off, use a syringe or a cheap turkey baster, and remove as much of the fluid as you can. Put the old fluid into a container and if you can get to the reservoir, give it a wipeout with a lint-free cloth.
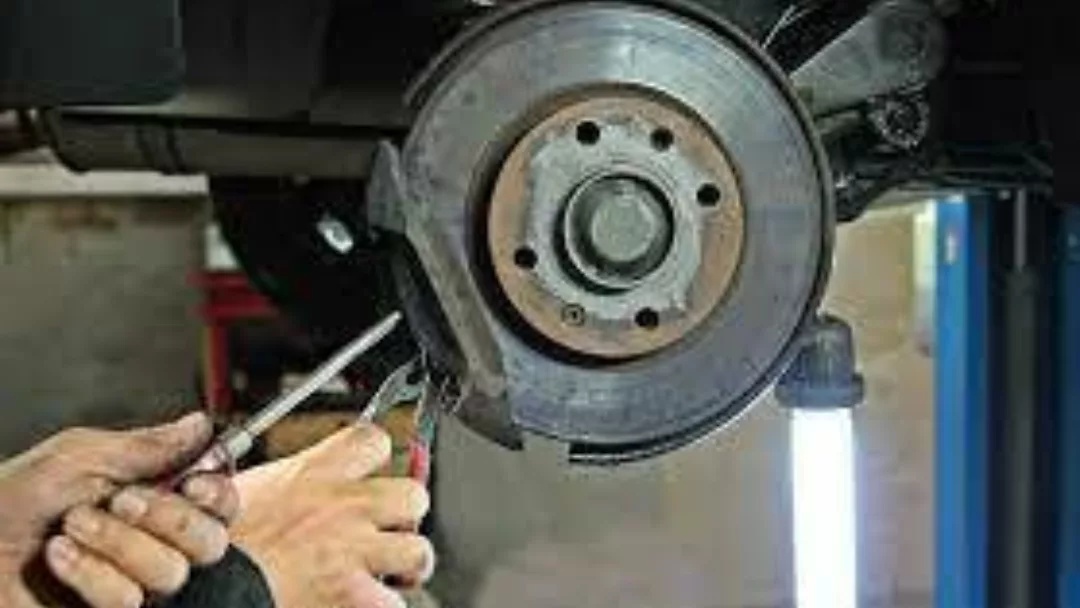
- Now it’s time to flush. This is where you might need your right-hand man with you to lend a hand. For this, you’ll need to loosen the bolts that keep your bleeder valves in place. Generally, these might be a little jammed as they can go months without being touched. With a loosening up of the bolts, you can leave them attached and closed.
- Once you’ve done that, take a piece of clear plastic tubing push one end over the brake bleeder bolt, and place the other end in a small, clear bottle with some clean brake fluid in it. What’s this for? This will make sure that no air is sucked out into your brake cylinder.
- For this next bit, we’d recommend putting a small block, maybe a piece of wood under your brake pedal. With a helper on hand, you can ask them to push your brake pedal down, and this will stop it from being pushed to the floor. While they’re doing this, you can go to the wheel cylinder and open up the bleed nipple. If your helper can push down on the pedal, while it opens, then close the nipple and get your helper to lift the pedal. Remember, if your helper comes off the pedal while your nipple bleed is open, then the air will just get sucked in (something we’re trying to avoid).
- Each time the pedal is down, you should be able to see the fluid escape from the nipple. If you see any air bubbles too, that’s a good thing because we don’t want those so it’s good we’re getting rid of them. Keep repeating this until the new fluid is coming through without any bubbles.
- Time to fill up. It’s time to top up your master cylinder with that fresh fluid you’ve got waiting. Fill it up to the line that’s marked on the outside of the pipe and pop the cover back on to stop the fluid from coming out.
- If your helper is still on hand, get them to press the brake pedal like they would if they were trying to stop the car. So long as your helper keeps their foot on the brake, you should be able to tighten the bleeder bolt a quarter of a turn.
- Prepare yourself for a trickle of the old fluid, and when this stops and is replaced with fresh fluid, you can close the bleed bolt.
- All done? Jobs a gooden. You should be good to go and you can just repeat this process when you need to again.
All in all, once it’s done, it’s done. It can be a fiddly job but if you’ve got a helping hand, you should be able to do it again in the future. You should generally have it done as part of a major service, but if you did find that you were having problems with your brakes, it’s better to be safe than sorry and get it checked out.

